
Saturday, December 13, 2008
Just having fun!
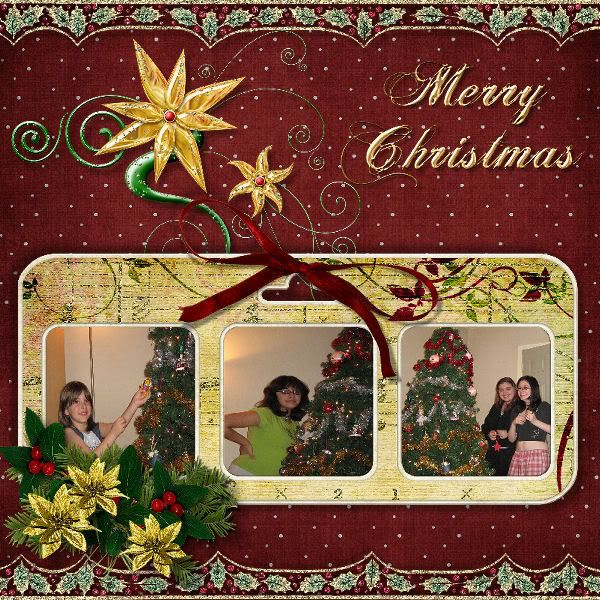
I was just having some fun. This kit was pretty fun to play with. I used sussieM's Secret Garden Kit.


Wednesday, December 3, 2008
Painting color on BW - the easy way
Since I posted my recent layout, I thought it would be fun to share with you an easy method for "coloring" your black and white photos in case anyone might scraplift my scraplift. lol.
You will actually need the color version of the photo for this.
I am using Photoshop CS3.
Okay, here is a wonderfully quick way to do this.
You start with the color photo. Duplicate your image and create a black and white version. There are so many ways to convert to black and white. The quickest and dirtiest way would be to desaturate your photo. This is not what I did here.

Okay, so now you have a color version and a black and white version. Drag your black and white version over your colored version. The color version should be on a layer below your black and white version. Duplicate your color version and put the new layer on top of your black and white layer. You should have three layers now, the bottom a color, the middle the black and white, and another color on the top.

Now, select the top most layer and create a layer mask. This the square with a circle at the bottom on your layers panel. Fill this mask with black. So what you see is a black and white photo. Your colored version is completely hidden by the mask.

Now the fun part!! Select your brush tool. I am using a medium round brush. Select white as your foreground color. Make sure your layer mask is selected. It should have a white rectangle around it.
Now just start painting the color back in! Easy? Oh yeah! Fun? Oh yeah! :)

You will actually need the color version of the photo for this.
I am using Photoshop CS3.
Okay, here is a wonderfully quick way to do this.
You start with the color photo. Duplicate your image and create a black and white version. There are so many ways to convert to black and white. The quickest and dirtiest way would be to desaturate your photo. This is not what I did here.

Okay, so now you have a color version and a black and white version. Drag your black and white version over your colored version. The color version should be on a layer below your black and white version. Duplicate your color version and put the new layer on top of your black and white layer. You should have three layers now, the bottom a color, the middle the black and white, and another color on the top.

Now, select the top most layer and create a layer mask. This the square with a circle at the bottom on your layers panel. Fill this mask with black. So what you see is a black and white photo. Your colored version is completely hidden by the mask.

Now the fun part!! Select your brush tool. I am using a medium round brush. Select white as your foreground color. Make sure your layer mask is selected. It should have a white rectangle around it.
Now just start painting the color back in! Easy? Oh yeah! Fun? Oh yeah! :)

Scrap Lifting
I totally scraplifted this from Kristi. I saw her layout a couple of days ago and just HAD to have it also. There are so many gorgeous layouts in the galleries but sometimes one of them just pulls on your heartstrings and you just have to have it. I stayed up late last night working on it.
Here is a link to Kristi's layout. Thank you for this amazing inspiration. I still like her version better but am really thrilled to have one to call my own!
Credits:
Maya's boxes (scrapbookgraphics), Jofia Devoe's Artist Workshop, Tracey Monette's Artist Kit No. 1 elements, Jofia Devoe's cute alpha, Lorie Davison's Fall Flittering Fairies (one of my fave kits ever) elements, Holliewood's Mamarazzi elements, JenU's gorgeous Pickin Wildflowers (another must have) and Potpourri elements, New Life Dream's All things Grow with Love elements.

Tuesday, December 2, 2008
Saturday, November 29, 2008
Layering elements Tutorial for Newbies
I thought I'd post a tutorial for newbies. One of the first things I wanted to learn how to do was how to put something in a layer above and beneath another. Afterall, in real life, things are not just all on top or just completely beneath another.
So here is a quick tutorial for beginners. :)
This example is a string and a tag. We want to loop the string through the tag. This tag and string is from Orchid Dreams Reawakening.
I am using Photoshop CS3 on a PC.
First, create your new document and drag the tag over, next drag the string over. Place the string at your desired location, where it would be if you wanted to loop it in real life.

Notice that the tag layer is below the string layer.
Select the tag layer. It should be active in your layers panel. Hold down the Control key and click on the thumbnail of the tag. You will see dancing ants around the tag.
Now click on the string layer. It should be active in your layers panel.
Select the eraser tool, select a solid hard round brush. Erase the area towards the top. This is where it normally would be underneath the tag. You will only be able to erase areas within your tag since it has been selected (dancing ants).

There you go, your string is above and below the tag now.
Yay, you're done. Play with some drop shadows and that's it!

So here is a quick tutorial for beginners. :)
This example is a string and a tag. We want to loop the string through the tag. This tag and string is from Orchid Dreams Reawakening.
I am using Photoshop CS3 on a PC.
First, create your new document and drag the tag over, next drag the string over. Place the string at your desired location, where it would be if you wanted to loop it in real life.

Notice that the tag layer is below the string layer.
Select the tag layer. It should be active in your layers panel. Hold down the Control key and click on the thumbnail of the tag. You will see dancing ants around the tag.
Now click on the string layer. It should be active in your layers panel.
Select the eraser tool, select a solid hard round brush. Erase the area towards the top. This is where it normally would be underneath the tag. You will only be able to erase areas within your tag since it has been selected (dancing ants).

There you go, your string is above and below the tag now.
Yay, you're done. Play with some drop shadows and that's it!

Yay, a layout!
I've been missing from being online much the last few days. I've finally started scrapping again. I really have missed it. It helps keep me grounded and remind me of why I love this craft so much...to journal my family's adventures. I have thousands of photos sitting on EHDs screaming, "scrap me, scrap me". I've been good and worked on a few layouts, with plenty of journaling! Yay!!
I would like to share one that did not take very long at all to work on. This one took me less than an hour, and that's quite impressive for me. It usually takes me many hours, even a simple one, so you can't always tell. LOL. So for a layout to be done in less than an hour might be a new record! lol.
This layout was created with Lorie Davison's Flitting Fall Faeries with Everything In It. http://shop.scrapbookgraphics.com/product.php?productid=22348&cat=0&page=1
This kit is jammed pack with so, so many goodies. I love Lorie's style, so unique, magical, quirky, and lots and lots of fun. I've been raiding her store a lot lately and half of the layouts I've worked on this holiday weekend has been using her kits.
The word art is Sentiments 1 by Annie Manning.
If you look carefully, you can see their shadows. This layout doesn't have any journaling, but it was just fun to put together. :)
Thanks for looking!

Wednesday, November 19, 2008
Blog
I thought I'd have a little fun and work on my blog a bit. I hope it's working for your system. I'm not too great with the skinning. I need to check how it looks tomorrow on a different system.
Don't you love those icicles? It's from our Knocking on Winter's Door Kit! They are great aren't they. For the shadowing, I used a setting of distance 11, size 18, and 18% opacity on dark gray.
Don't you love those icicles? It's from our Knocking on Winter's Door Kit! They are great aren't they. For the shadowing, I used a setting of distance 11, size 18, and 18% opacity on dark gray.
Tuesday, November 18, 2008
Freebie by Microferk!
Microferk Designs put together this great freebie for you! Please drop by her blog and get it before they are gone!!
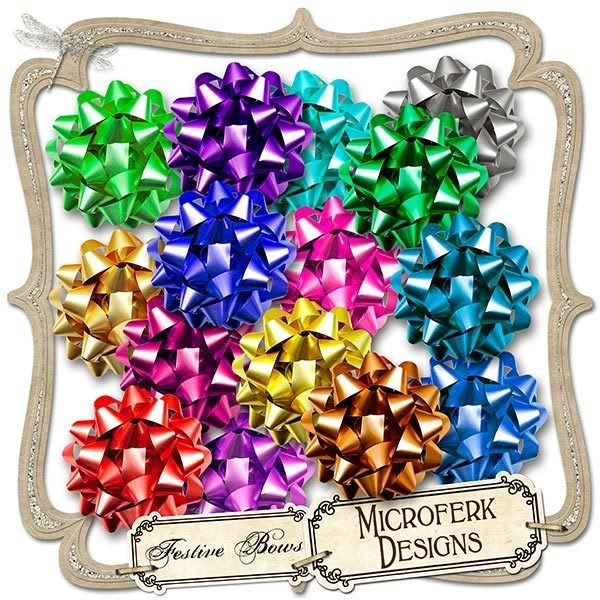
"Just in time for your holiday projects, or any holiday project at all- Festive Bows is a set of 14 large fancy bows (each is 3 inches at 300ppi) in a rainbow of colors!
All bows are their own separate file- no need to cut apart, and created at 300ppi for superior print quality, and saved as png files to preserve transparency.
You can use these over and over on your scrap layouts, holiday and special occasion cards- all sorts of projects."
http://microferkdesigns.blogspot.com
Sunday, November 16, 2008
Layouts!
Okay, first a *shout out* to my regular blog visitors. Thank you so much for your sweet comments! :D
** Warning this post is image intensive!! **
Boy, oh boy, how am I going to post layouts? There are so so so many gorgeous layouts lately. So let me take breather and randomly select a bunch of layouts to show off to you! It's not such a bad thing to have right? Poor me, too many gorgeous layouts to choose from! LOL
Ready to ooh and ahh? hehe. Gorgeous gorgeous layouts to help inspire you!
Very special thanks to JenU's Creative Team, Microferk's Creative Team, and my awesome Creative Team.
Layouts with "Knocking on Winter's Door" and "Holiday Shimmer". Additional credits below layouts.
by Gislaine

by wildchildzdezinez

by coincon


by Eva

by greenpalm

by HapEScrapr

by nzmumof4

by trinad

by Sweeet

by dodo74

by Diana32

by Anne C

by Lilja
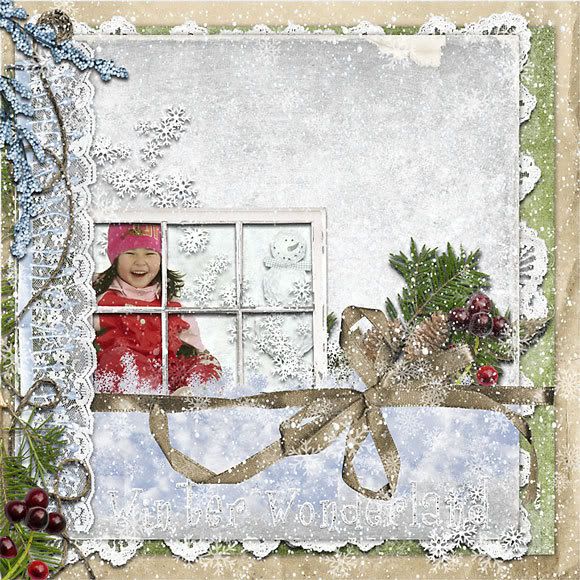

by Tammy
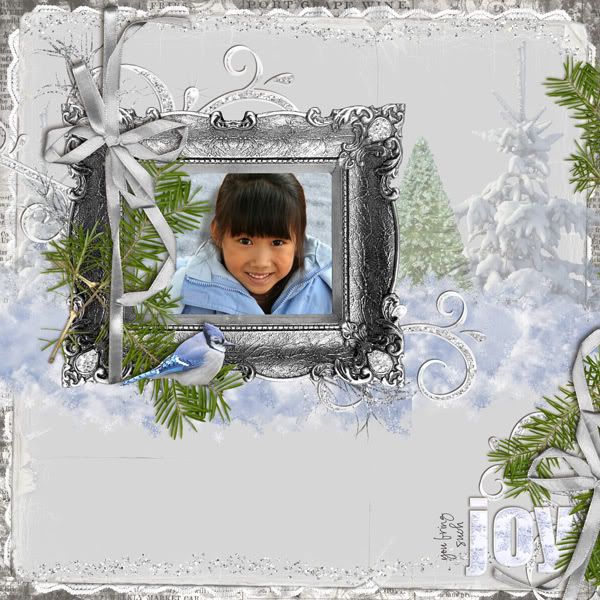
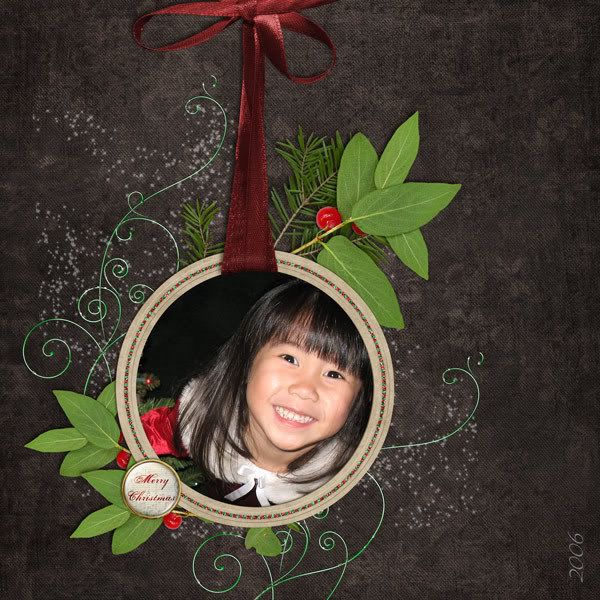
by Kristi


by Carin


by Vanilla


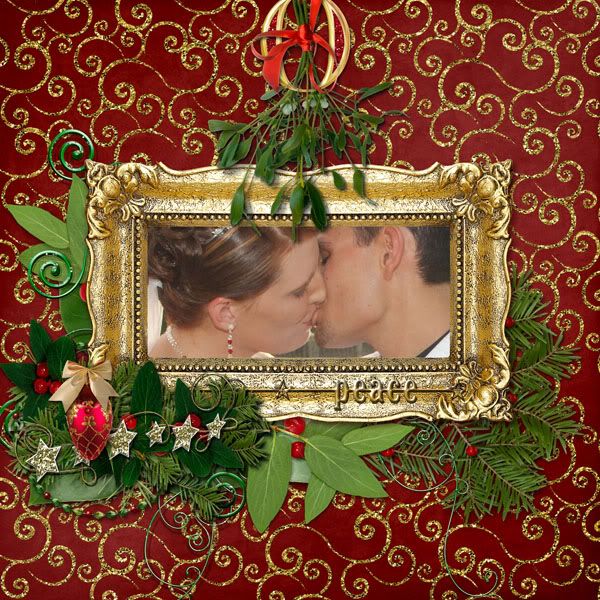
by Danesa
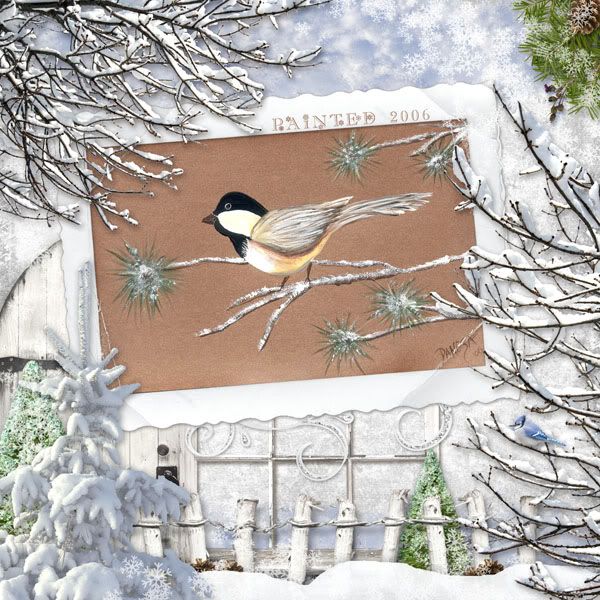
(her own painting!)
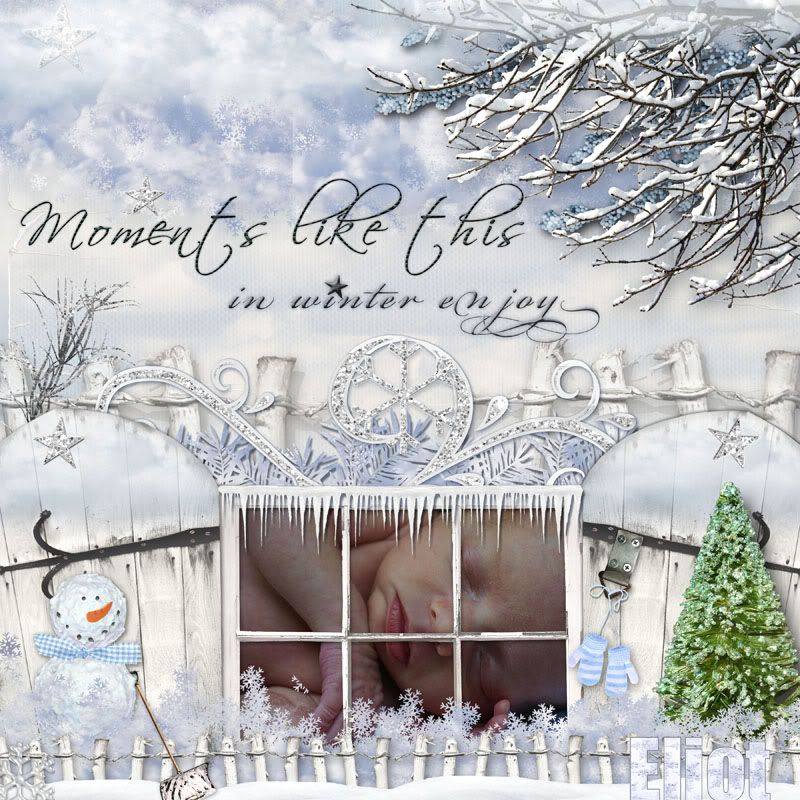
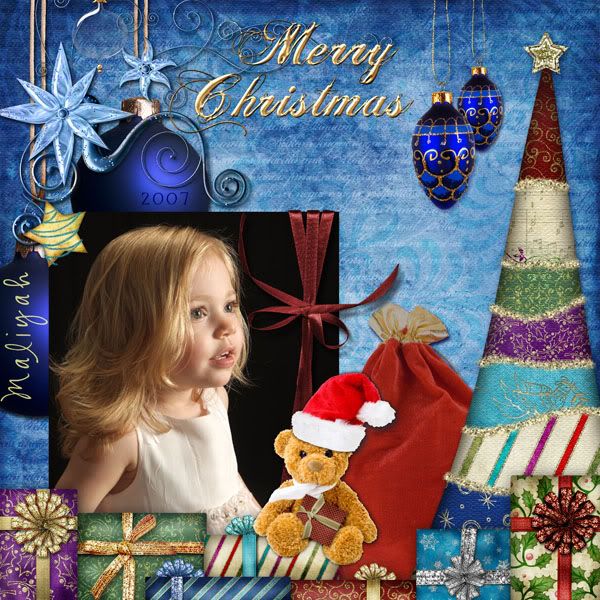
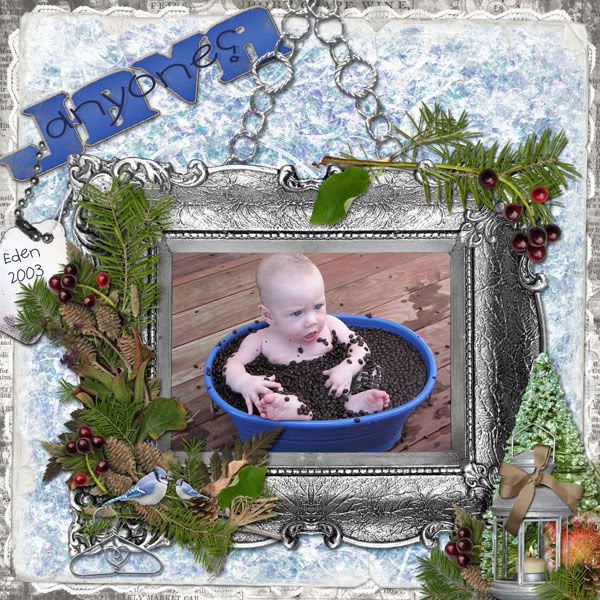
by Gislaine

by Leda
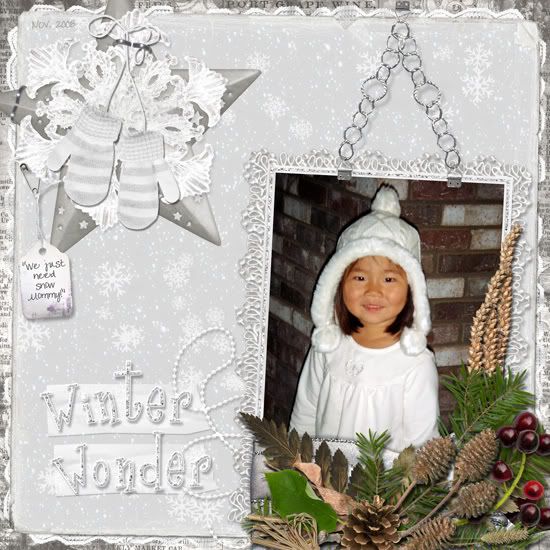
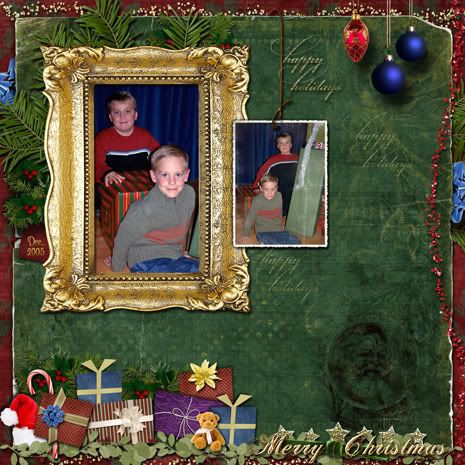
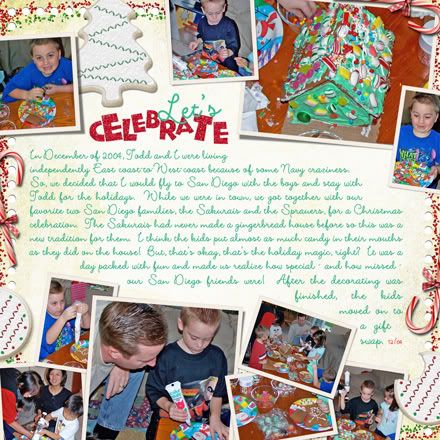
by Miranda
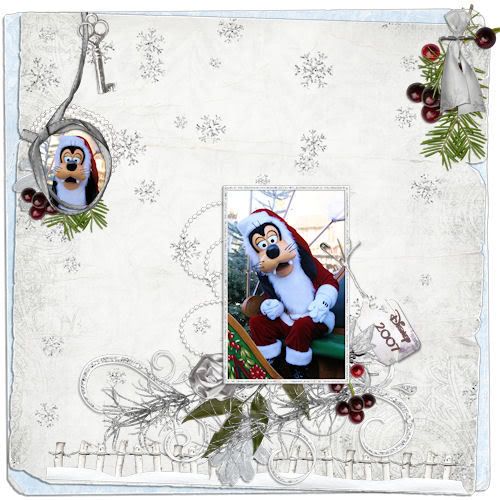
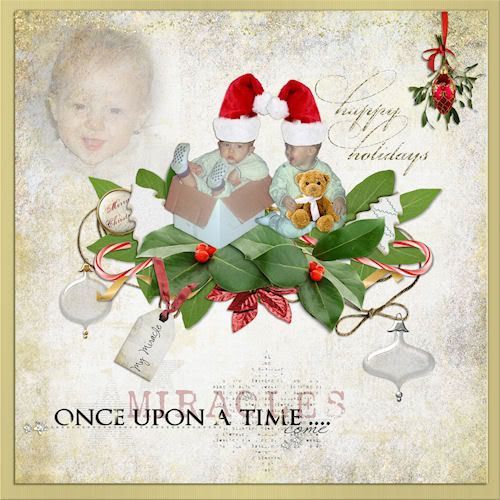
by Lorraine
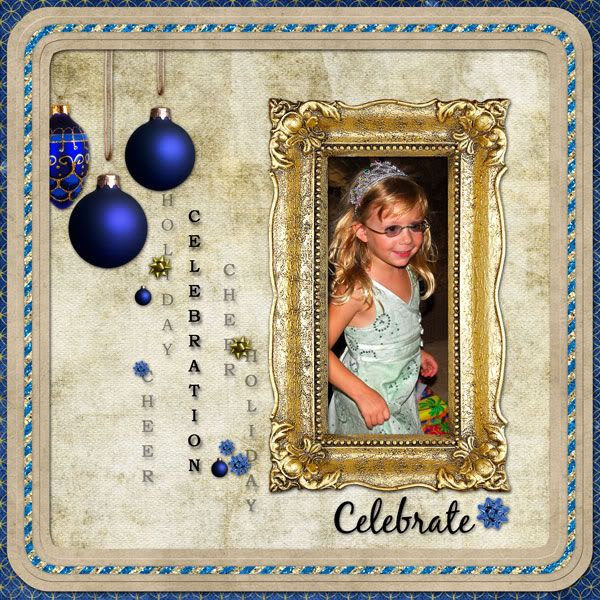
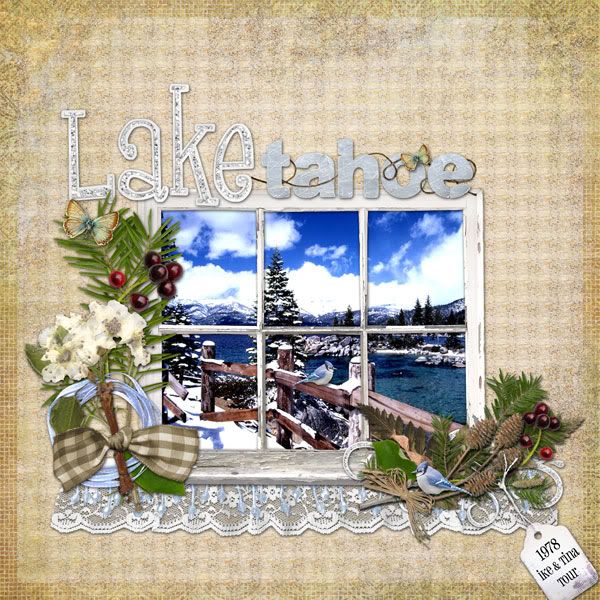
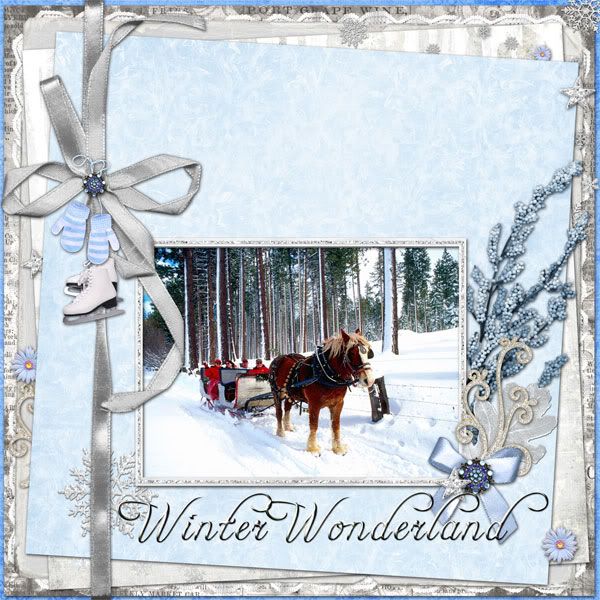


folded corner by Helena Jole

by Helene

by Magda

Credits:
Holiday Shimmer
Knocking on Heaven's door
Overlay Favreau Designs

by Saxon
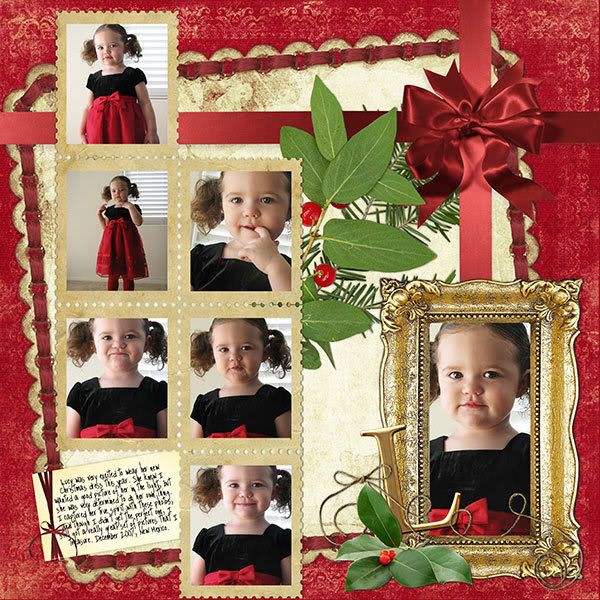
by Kim
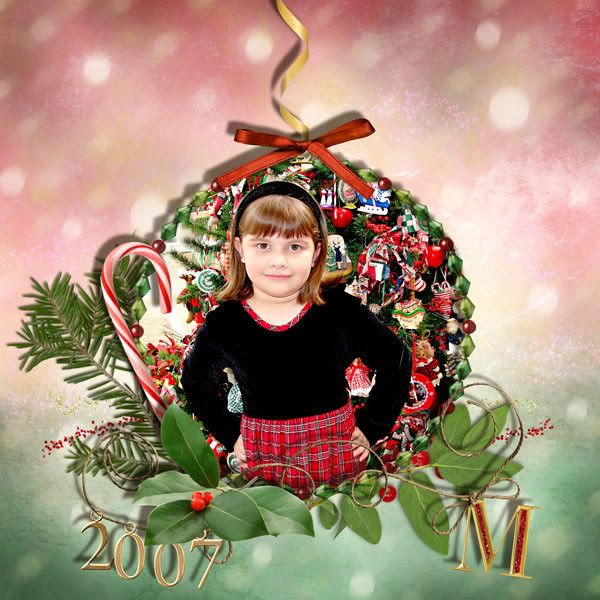
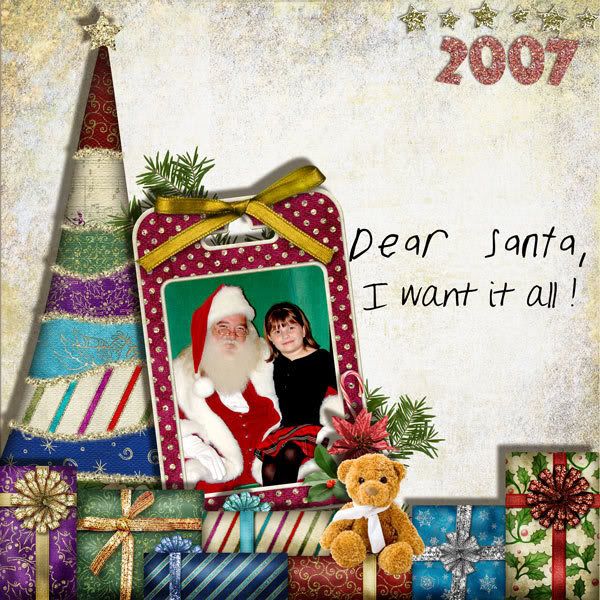
by Lisa
And some goodies from some talented ladies over at DST! :)
by Anetka

Serenity Kit
by novaczka


Orchid Dreams Reawakening
Is that enough inspiration? :)
Time to get scrapping or take out that camera!
** Warning this post is image intensive!! **
Boy, oh boy, how am I going to post layouts? There are so so so many gorgeous layouts lately. So let me take breather and randomly select a bunch of layouts to show off to you! It's not such a bad thing to have right? Poor me, too many gorgeous layouts to choose from! LOL
Ready to ooh and ahh? hehe. Gorgeous gorgeous layouts to help inspire you!
Very special thanks to JenU's Creative Team, Microferk's Creative Team, and my awesome Creative Team.
Layouts with "Knocking on Winter's Door" and "Holiday Shimmer". Additional credits below layouts.
by Gislaine

by wildchildzdezinez

by coincon


by Eva

by greenpalm

by HapEScrapr

by nzmumof4

by trinad

by Sweeet

by dodo74

by Diana32

by Anne C

by Lilja


by Tammy


by Kristi


by Carin


by Vanilla


by Danesa


(her own painting!)


by Gislaine

by Leda


by Miranda


by Lorraine


folded corner by Helena Jole

by Helene

by Magda

Credits:
Holiday Shimmer
Knocking on Heaven's door
Overlay Favreau Designs

by Saxon

by Kim


by Lisa

And some goodies from some talented ladies over at DST! :)
by Anetka

Serenity Kit
by novaczka


Orchid Dreams Reawakening
Is that enough inspiration? :)
Time to get scrapping or take out that camera!
Subscribe to:
Comments (Atom)


